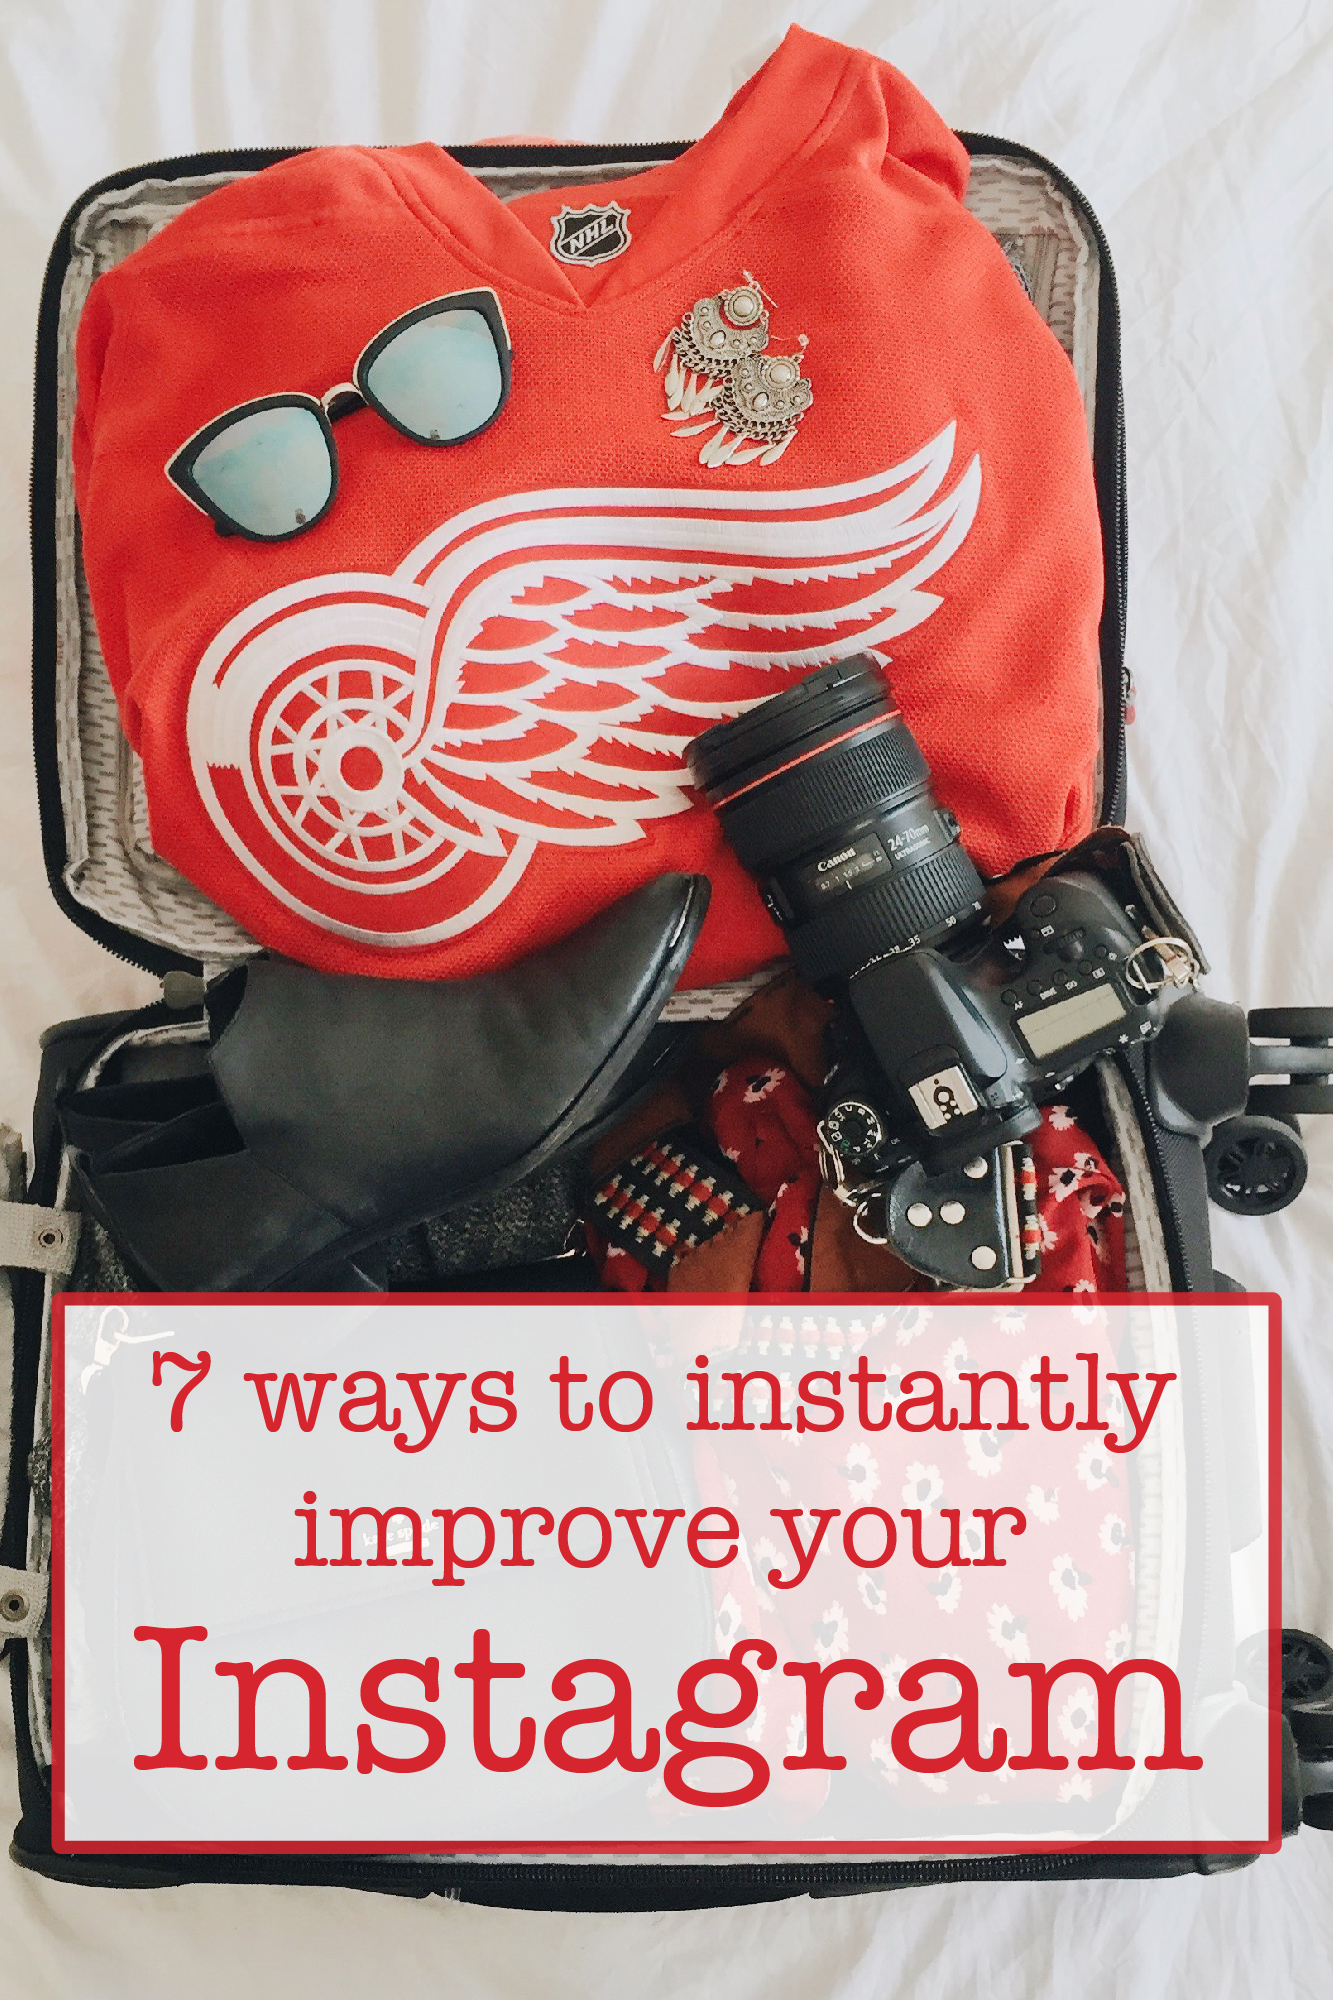
Usually when I run into people that I haven't seen in a long time, the first thing they say to me is, "OMG I LOVE YOUR INSTAGRAM!" After a some quick small talk, we bid adieu and I immediately go on Instagram to see if I even follow them. When I look at their feed, I think to myself that their Instagram could look amazing if they just did a few things differently.
Below are seven simple tips that will help turn your Instagram into a cohesive feed. Although these tips are basic, they set a foundational knowledge for editing. All of the photos below are either screenshots from my iPhone or photos taken on my iPhone 6.
1. Do not use Instagram's filters
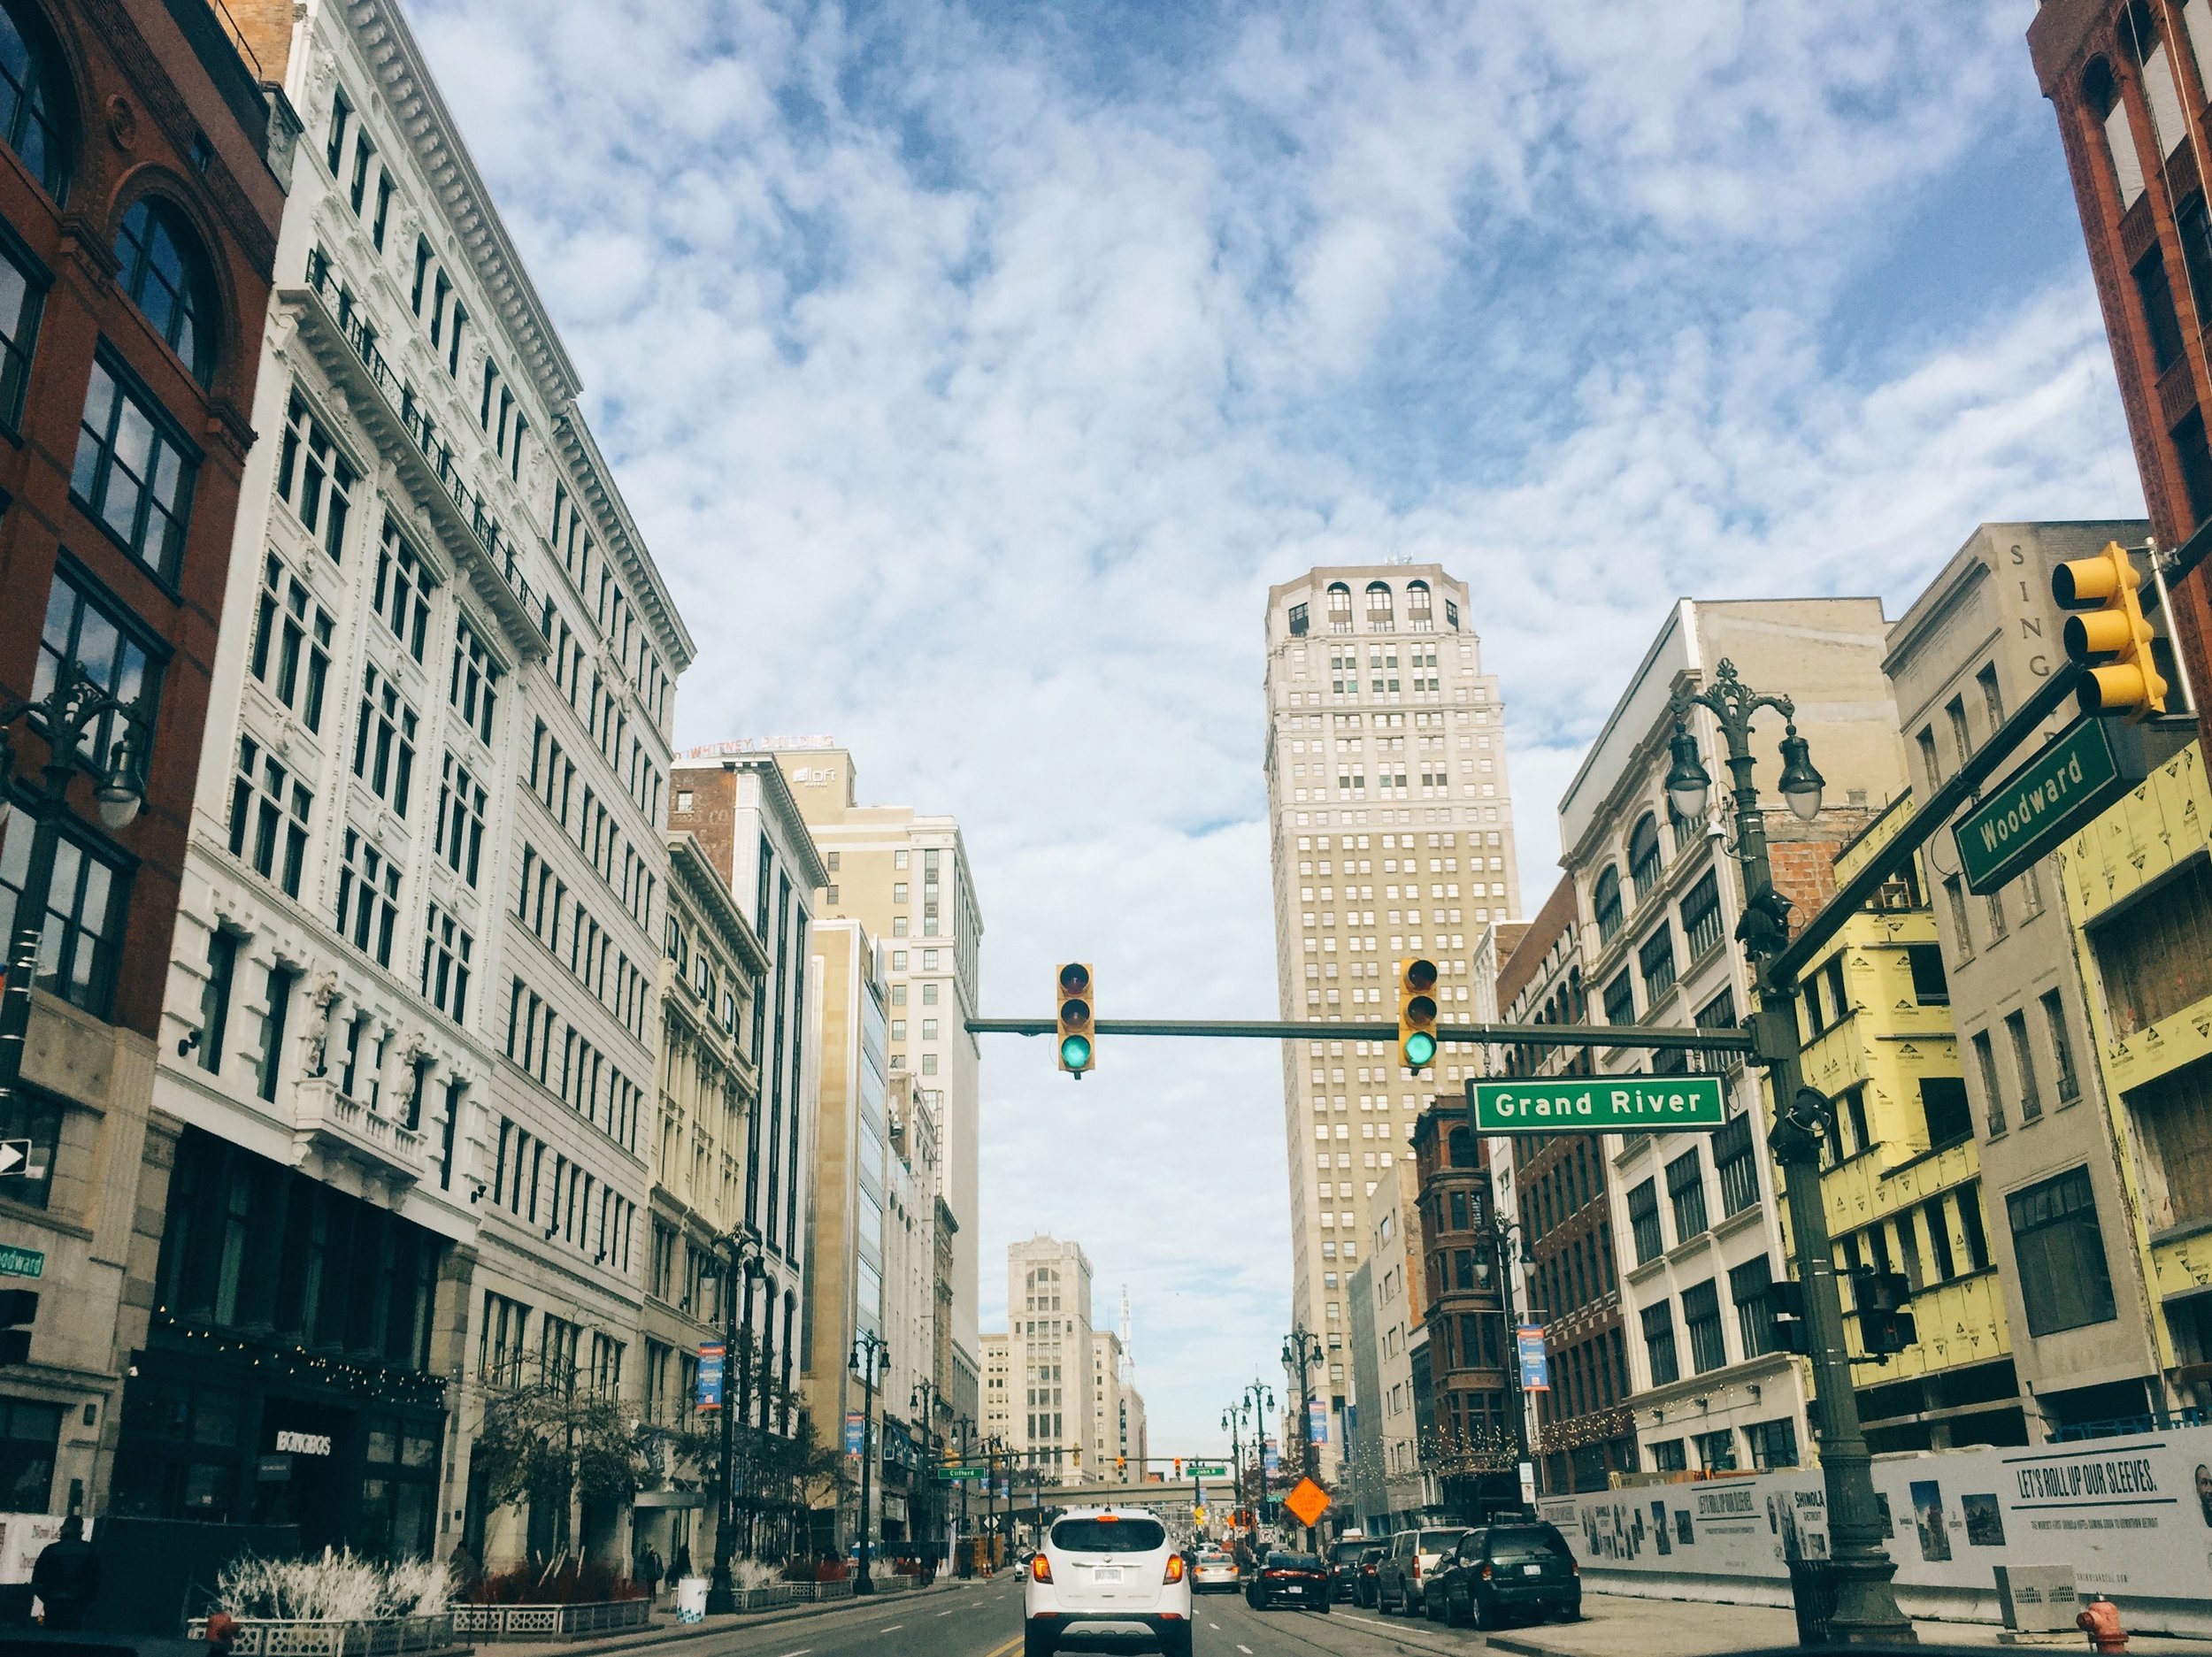
One easy way to make your feed look better is to stop using Instagram's filters. Yeah, I get it. You want to make the picture "your own" by adding the yellow-tinted, weird focused, super contrasty filter that thousands of people have already used. Thankfully there is a way to make it unique to you without sacrificing the image.
Download an app that is primarily used for editing, such as VSCO or Afterlight. I prefer VSCO, but I have used Afterlight in the past. I use VSCO because I already edit with them through Lightroom for my actual photography. Purchase is required for Afterlight and their are in app purchases for VSCO. However, both are under $5.
I suggest sticking with one filter or a few filters within the same range (if you are using VSCO). Although repeating a filter removes the *waste 15 minutes picking out the PERFECT filter* part of your day, it does create a uniform look for your feed.
The first image below is edited with Instagram's Slumber filter. The second image is edited with a VSCO filter. The first image is overwhelmingly yellow and dark. The second image is much truer to the original image while still having its own personality.

2. Straighten your images
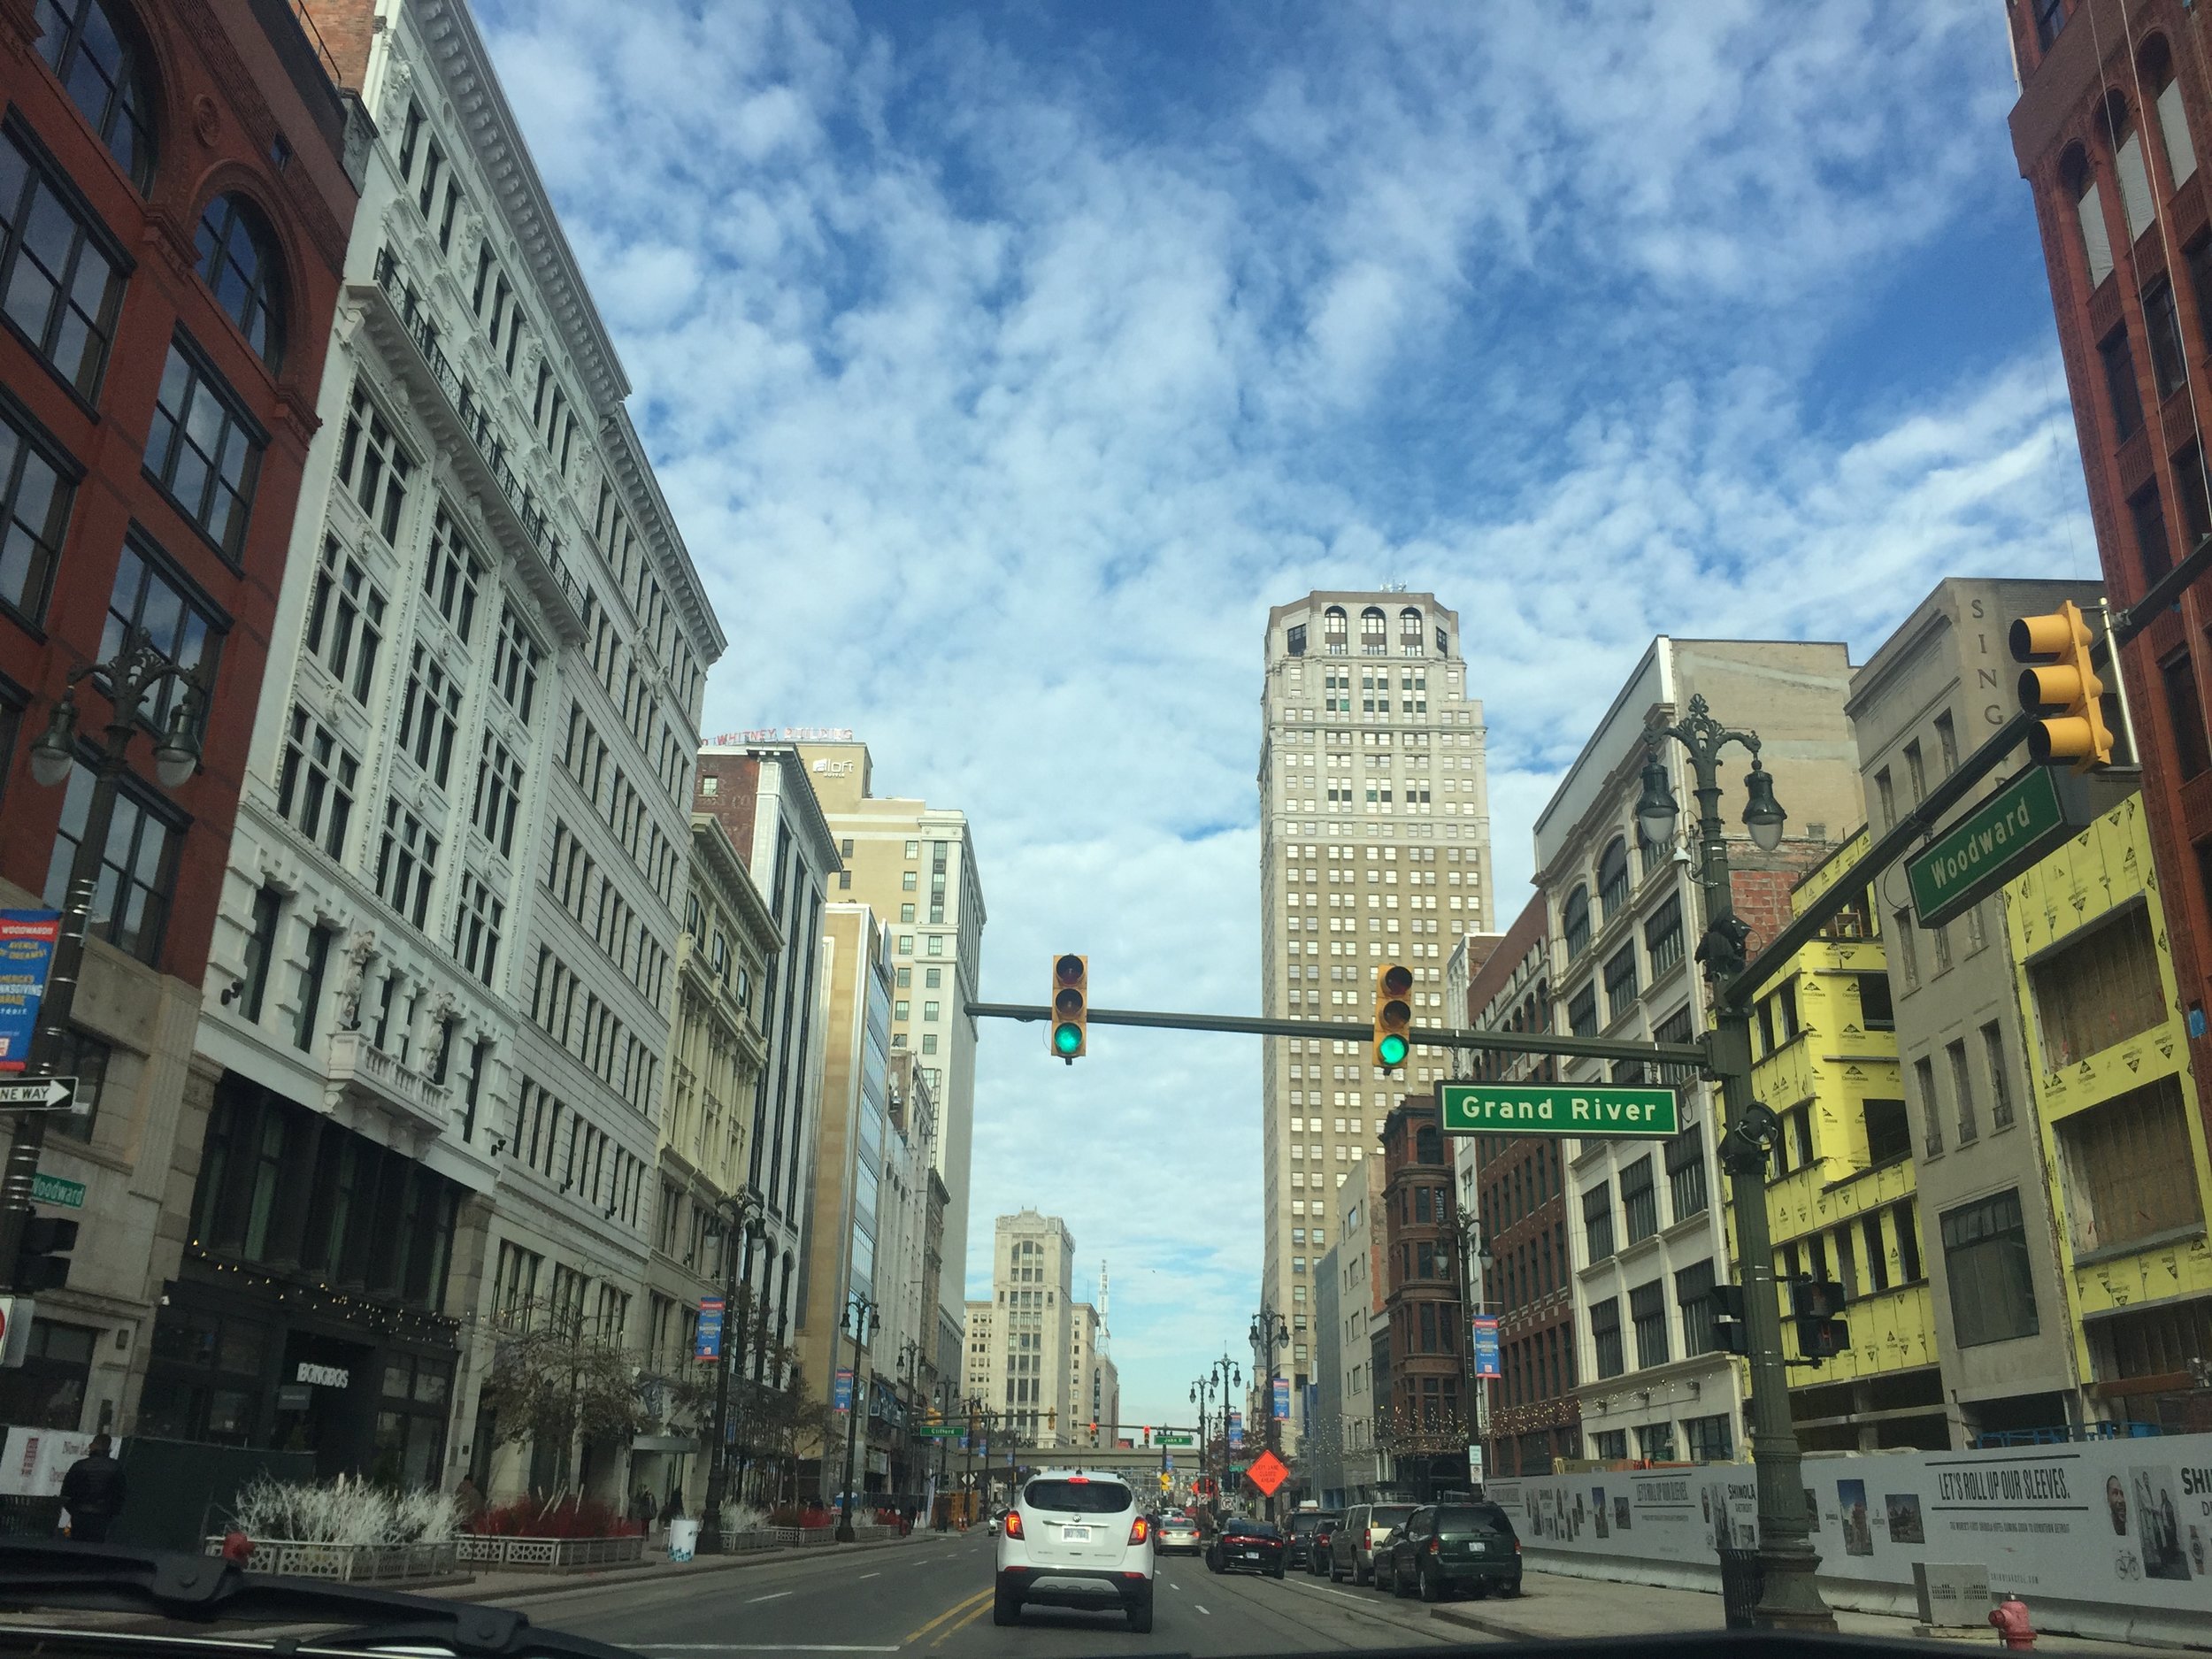
This is something that drives me crazy, but once you see it you can't unsee it... straight images. I cannot tell you how many times I've seen photos on Insta that have EXTREME slants. This of course is not a absolute truth, but unless you are a professional photographer shooting fine art or fashion photos, you need to straighten your images.
In the first photo below, the image is tilted to the right. If you look at the car on the road, you can see that the left tires are up hirer than the right tires. A simple adjustment (and a VSCO filter) on the image and it looks less disorienting.
In order to do this, try to make your horizon perpendicular to the right or lefthand side of your screen or parallel to the top or bottom of your screen.
3. Clean up the clutter
Another huge pet peeve of mine is when people post a photo where the subject is surrounded by trash, junk, dirty clothes, charging cords, open doors, etc. Do not take photos with a huge mess in the background. Clean up your space! This does not mean you have to spend hours cleaning your apartment to shoot one image. You just need to make sure what is in the frame is clean.
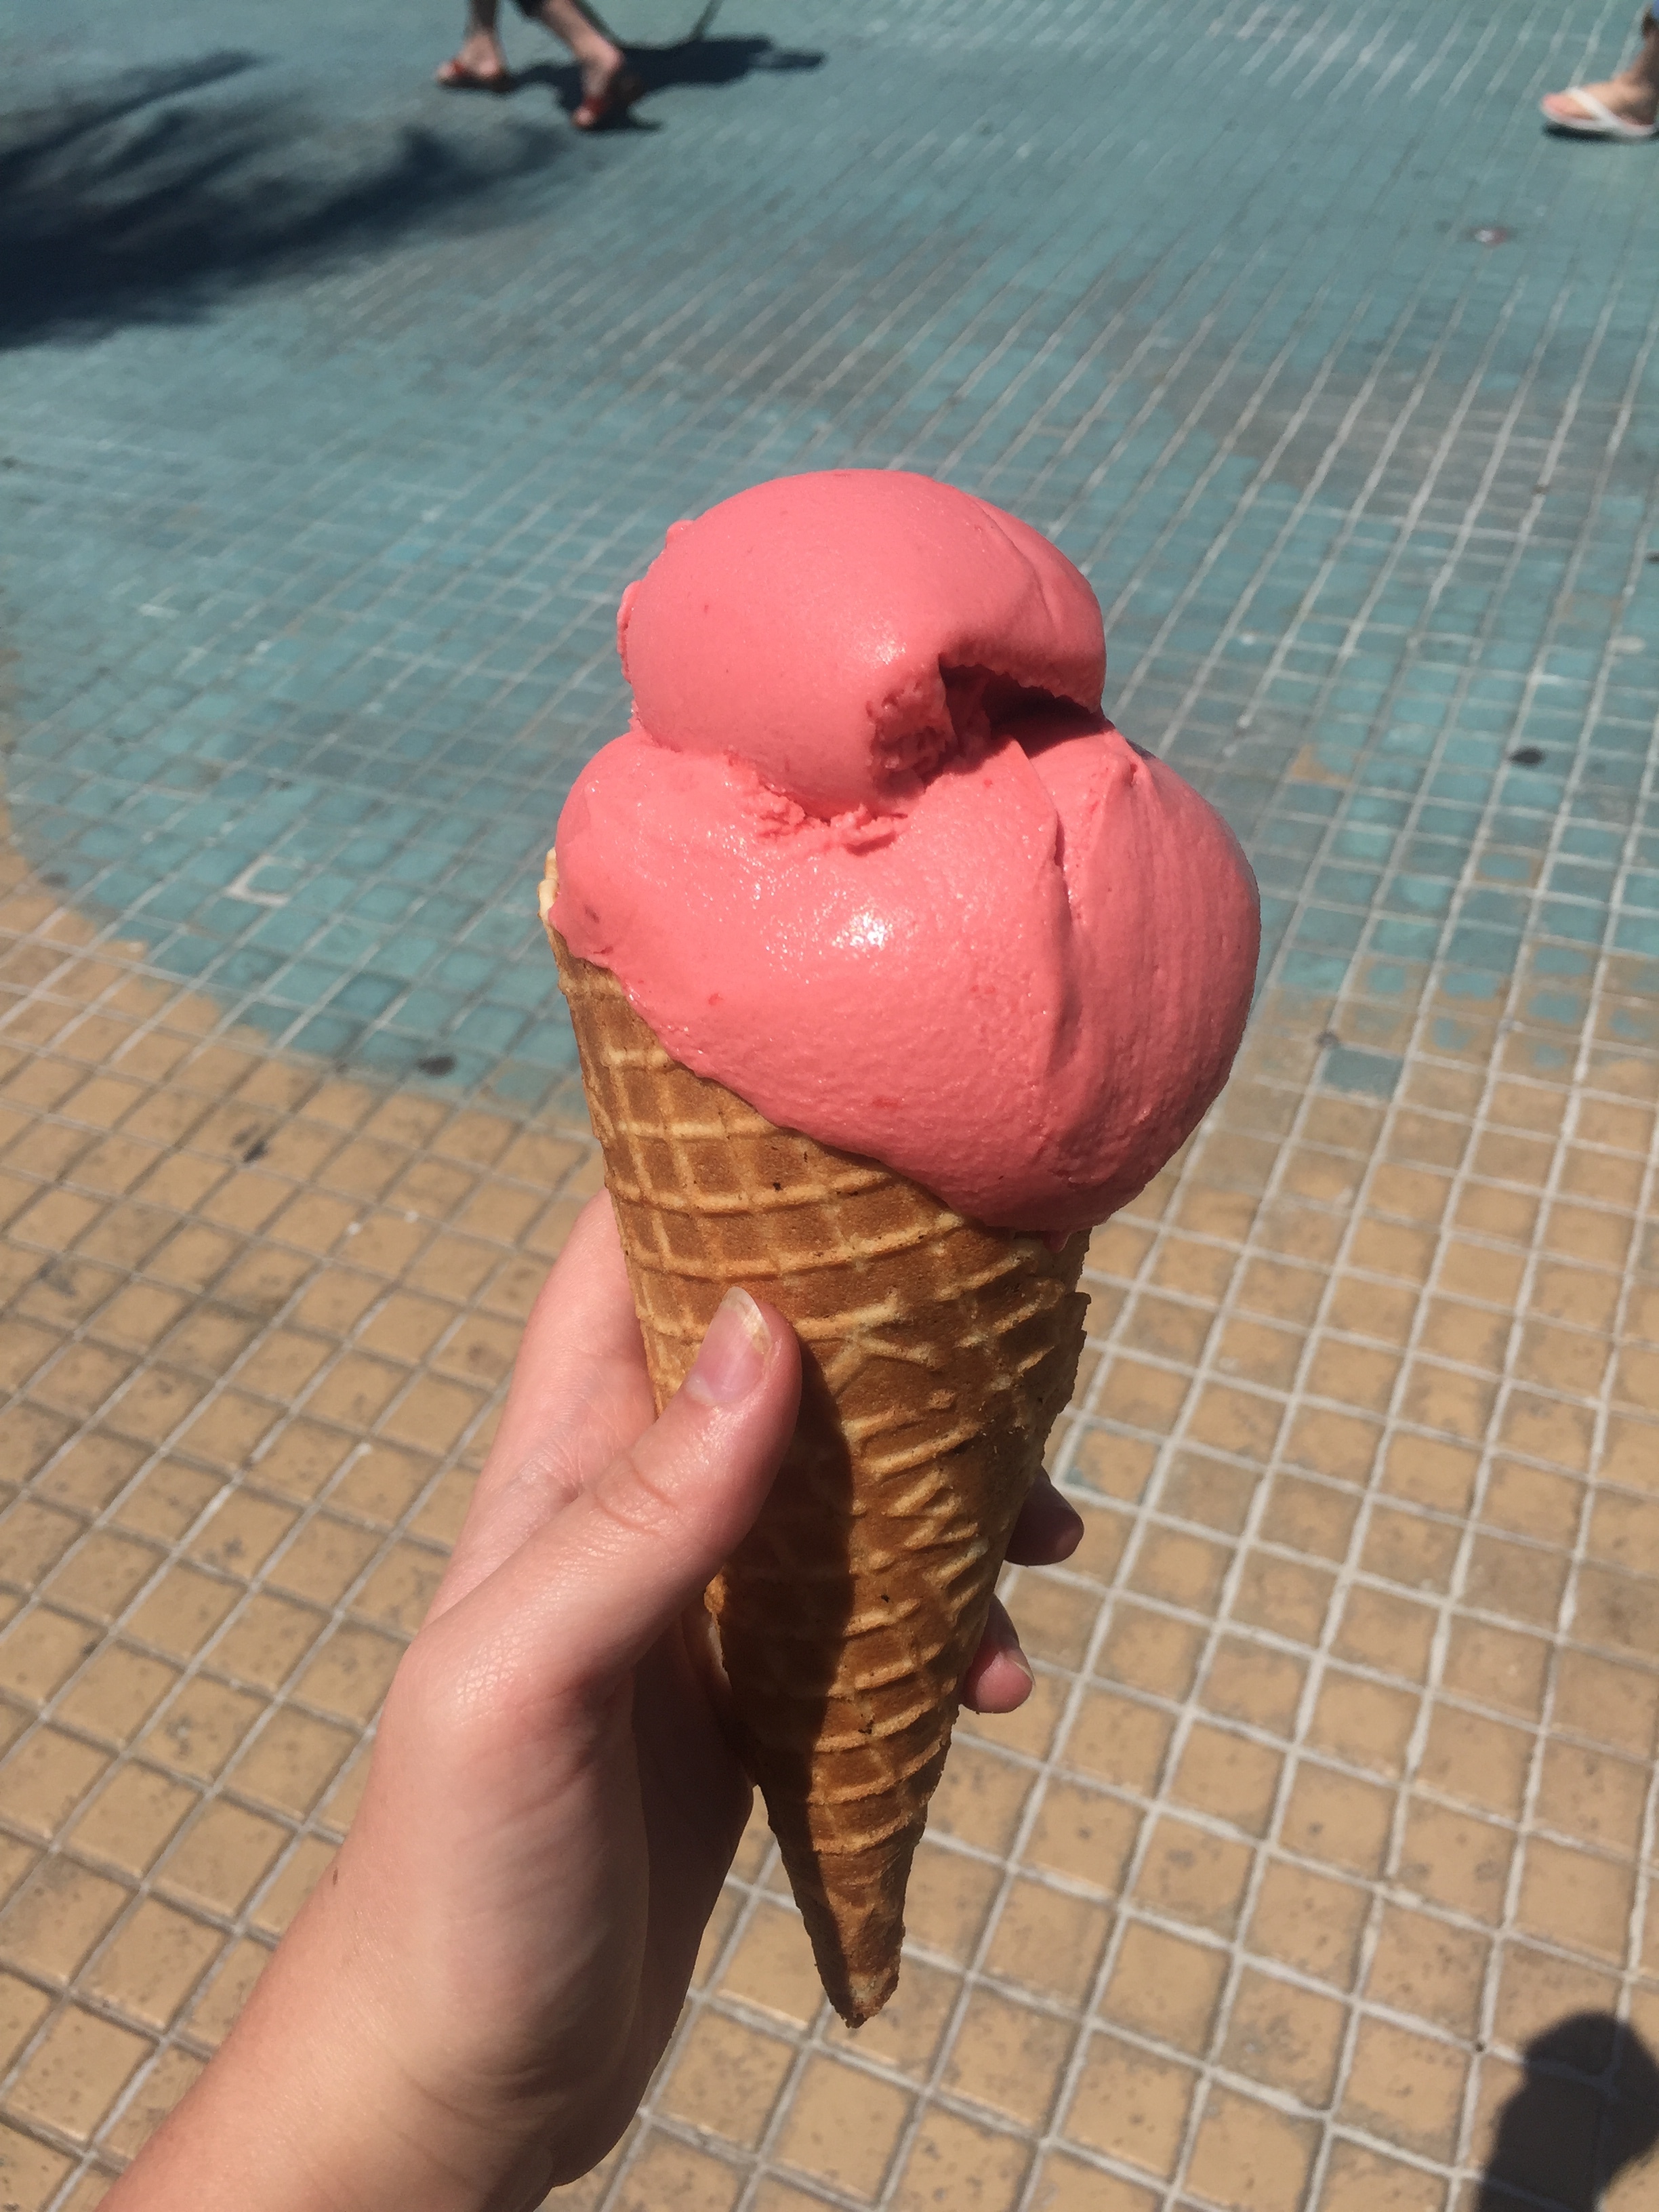
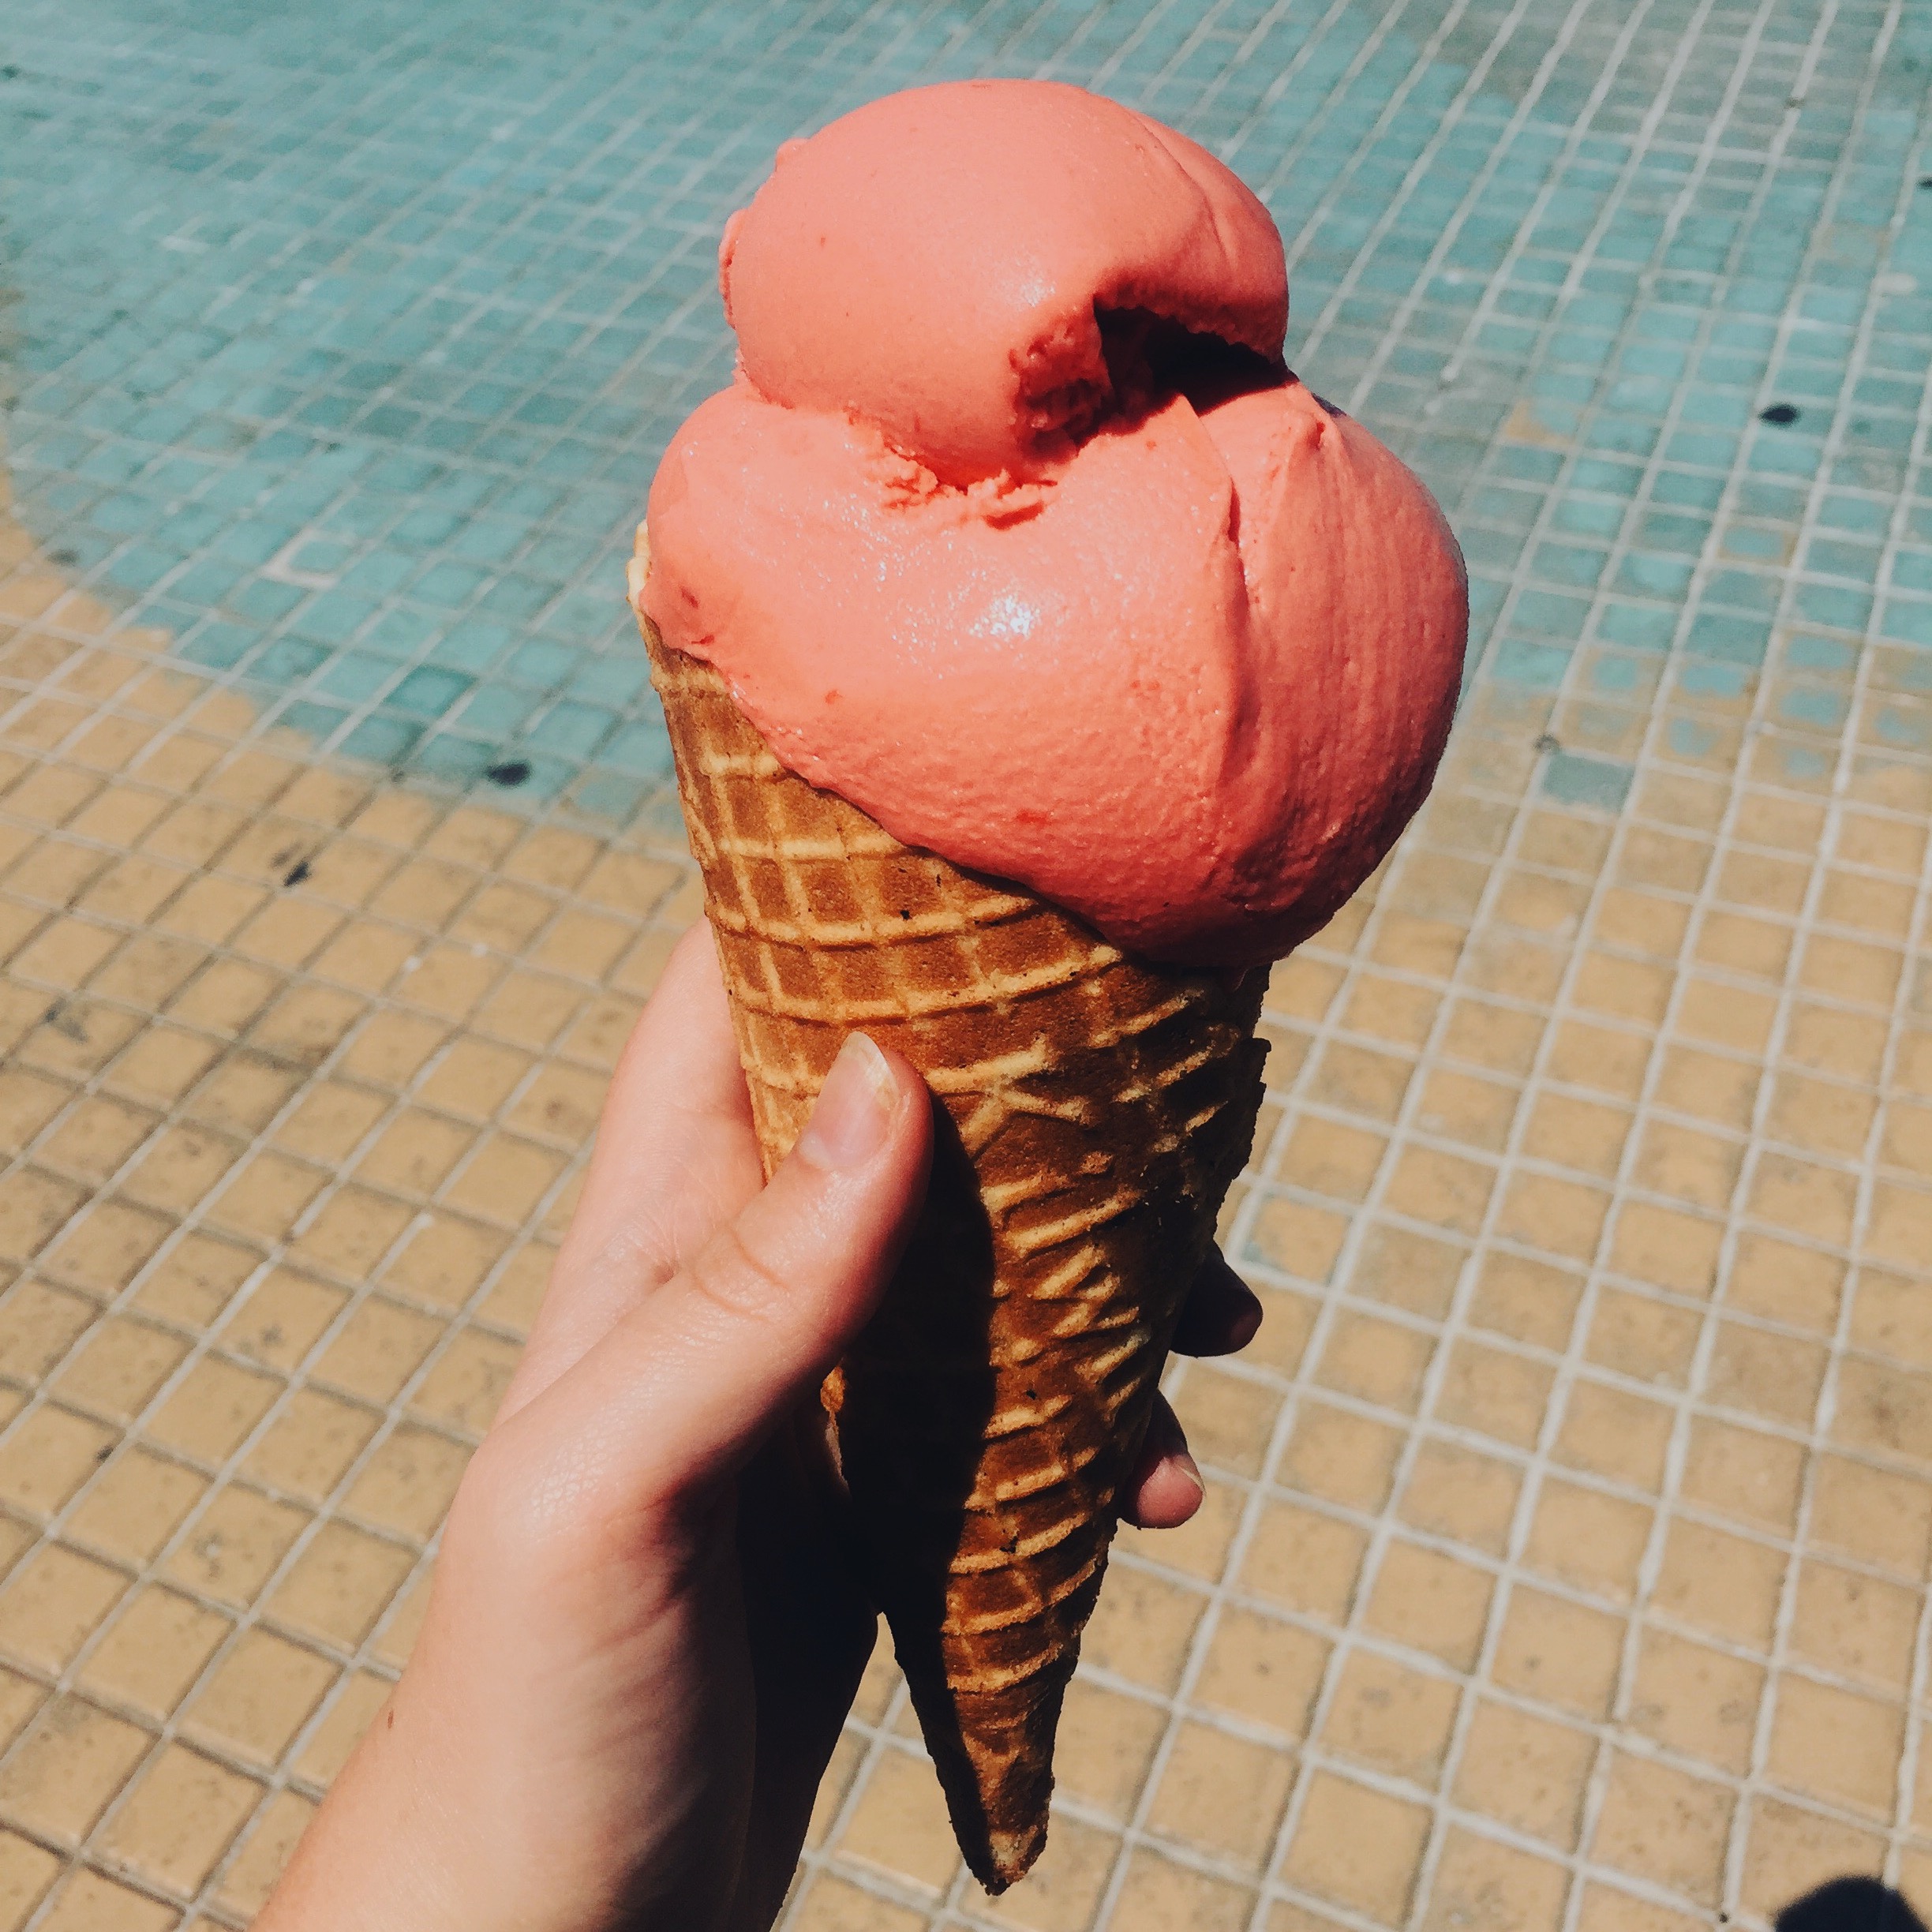
This rule also applies when you are outdoors. Think about the frame of your photo. This photo was taken in Florida while I was on vacation. I loved the colorful titles and thought they would be a fun, simple background for my ice cream.
Because there were so many people walking around, it was extremely hard to not get anyone in the frame. The first image was my best attempt. However, no one wants to see someone's feet near food. I simply cropped out the "clutter" of the image.
4. Use natural light
Natural light for Instagram is key, especially if you are just learning about photography. When you use non-professional indoor lighting, you will get a harsh yellow glow similar to the crappy Instagram filter I just told you not to use.
Try to get close to a window. When I take photos indoors, I open all of the shades/curtains and turn off all of the artificial light. You might have to move your furniture around a little bit, but it's worth it. If your place has horrible lighting, go outside. Bring a poster board board for a white background and take the photo with the outdoor light, usually the shade works best.
I can't tell you how many people think a small, yellow lamp light is going to make the picture have "better lighting". If you notice in the first picture below that the light is very yellow on the left hand side. The light on the right is very blue. This is because I took it in between a artificial and natural light. The uneven light and the yellow glow make this photo... not so good.
The second photo is taken next to a window. For reference, both of the photos were edited with the same VSCO filter. The white balance is even across this photo. The natural light makes the image crisp and clean.
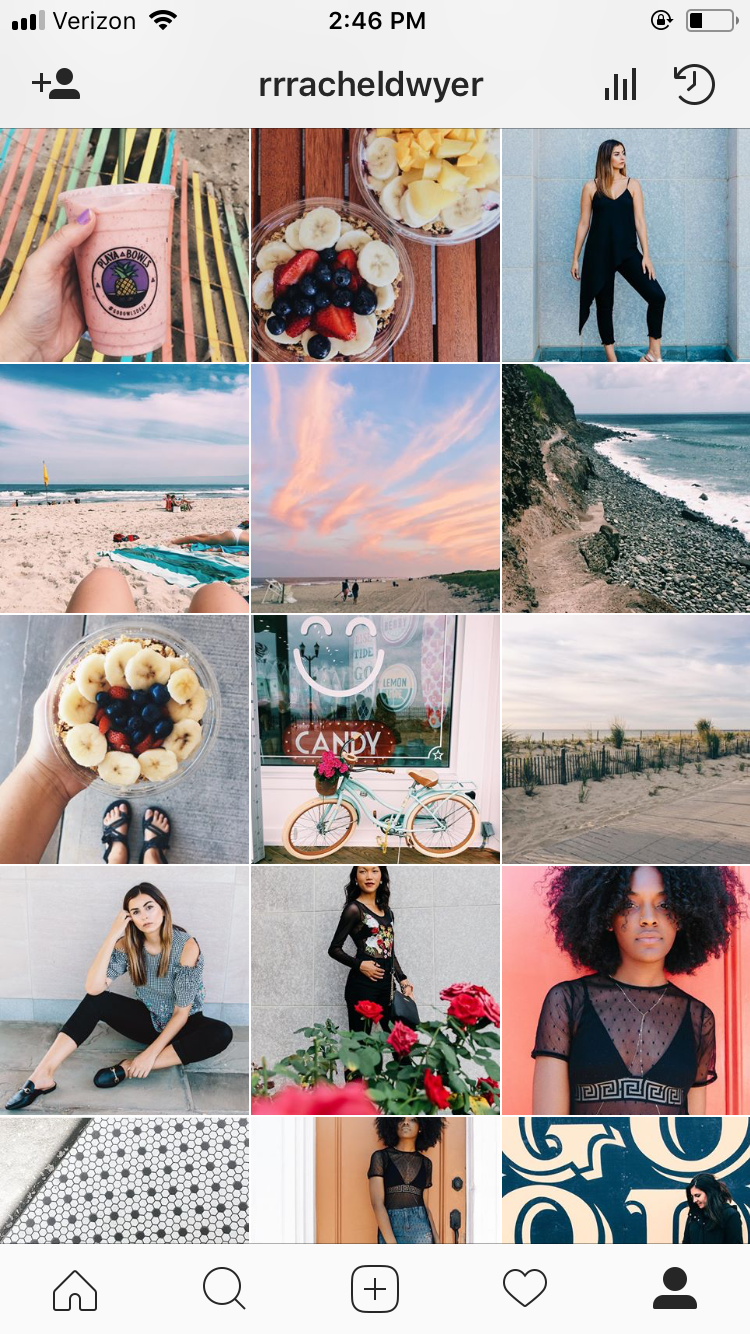
5. Try to stick to a color theme
If you look at some of your favorite bloggers on Instagram, you notice that not only do their individual pictures look good, but their feed as a whole looks good. This is not an accident. Bloggers download apps that help them plan their feed. UNUM is an app that allows you to see what your new photos will look like with your current feed. It also tells you the best time to post and the best hashtags to use.
In order to make your whole feed look uniform, you need to think about the color theme of your feed. Below is a picture of my Instagram from a few months ago. There are strong pink, blue, and pastel themes throughout these images which allows the feed to look cohesive. None of the images have an overwhelming amount of dark colors. Some of the images have darker clothes, but this is balanced within the image and within the feed by lighter images.
You do not have to have pastel colors for your theme. Many people use black/gray and white for a very modern look. Some people use darker images overall which works when it is consistent. Some people have wood and plants frequent their feed which makes it look cohesive and others have crazy colors throughout. It doesn't matter what you want to go with, as long as you are conscious of how the image you post will look next to the last few images you posted in your feed.
6. Don't post a collage
If you are at all interested in how your feed looks, please don't post a photo collage. Sure, they are cute for someone's birthday or whatever, but they look like crap on your feed. If we are expecting to see big square images and then in reality see one which is actually a bunch of smaller squares/rectangles, it messes up the flow. Believe me. If you want to make a photo collage, post it on Facebook. See the image below.
Instagram released a new tool this year where you can add multiple photos to a single post. This allows you to incorporate all of the photos you want without sacrificing the overall feed. Please utilize this.

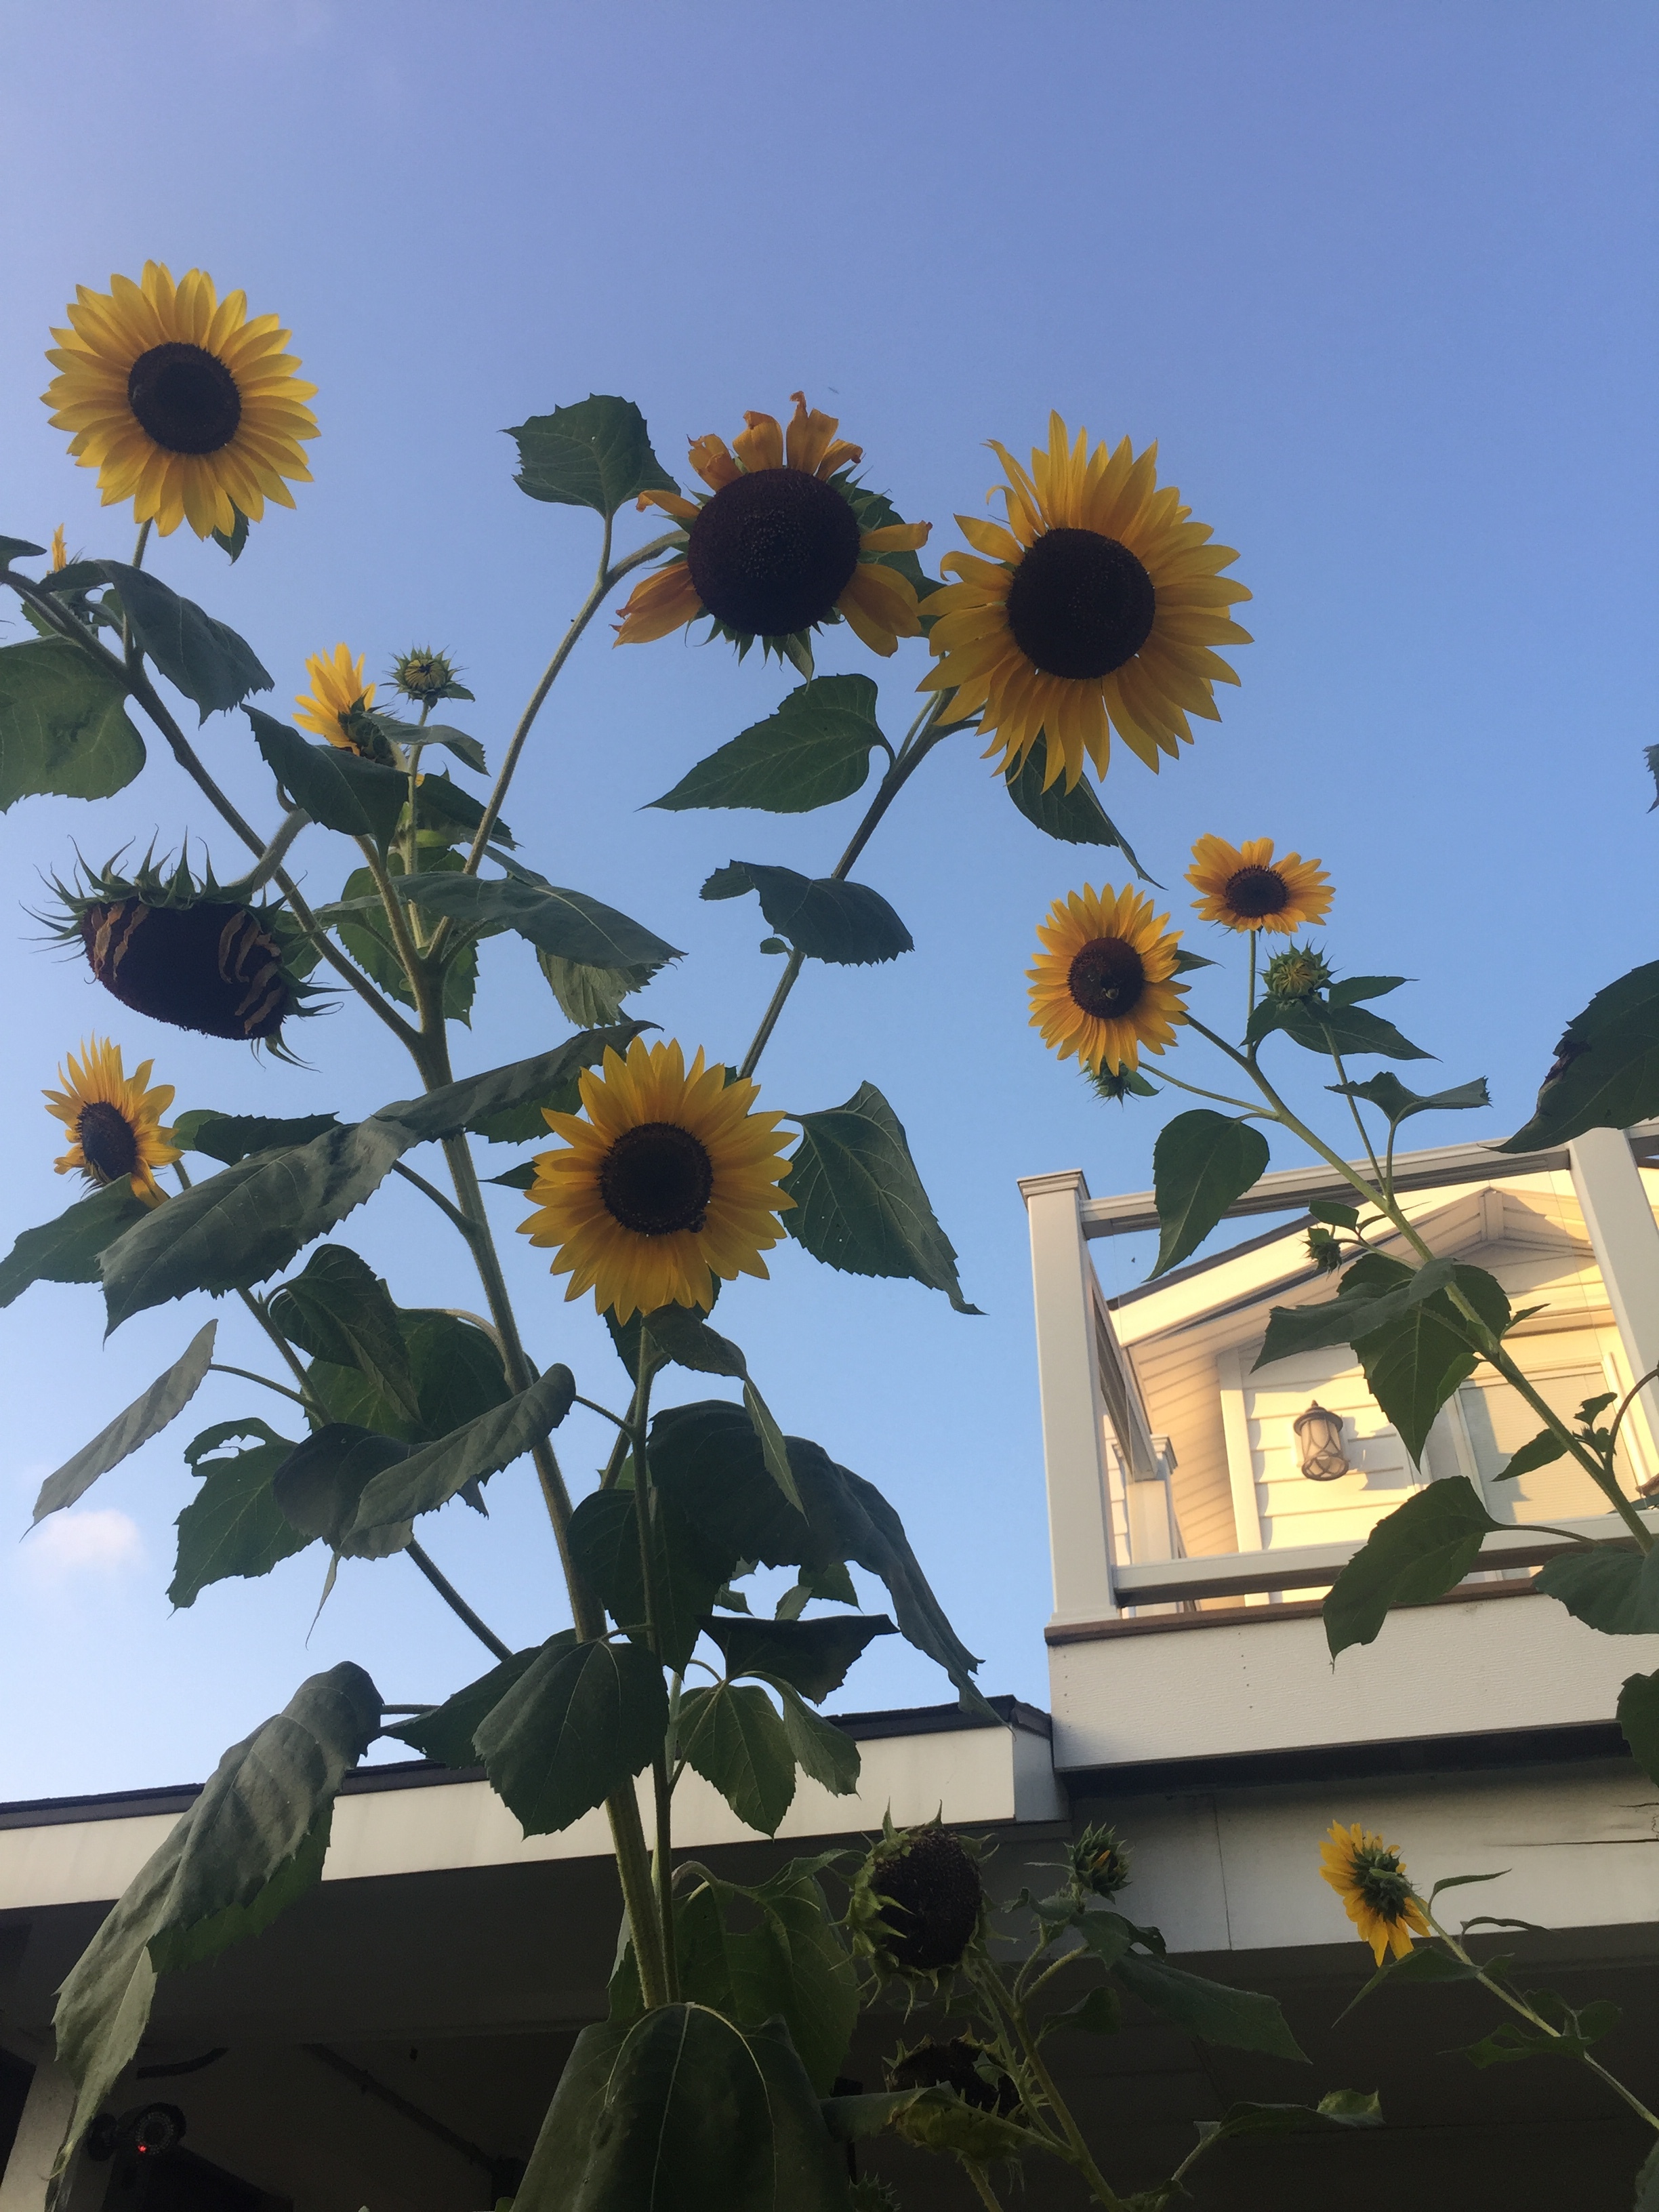
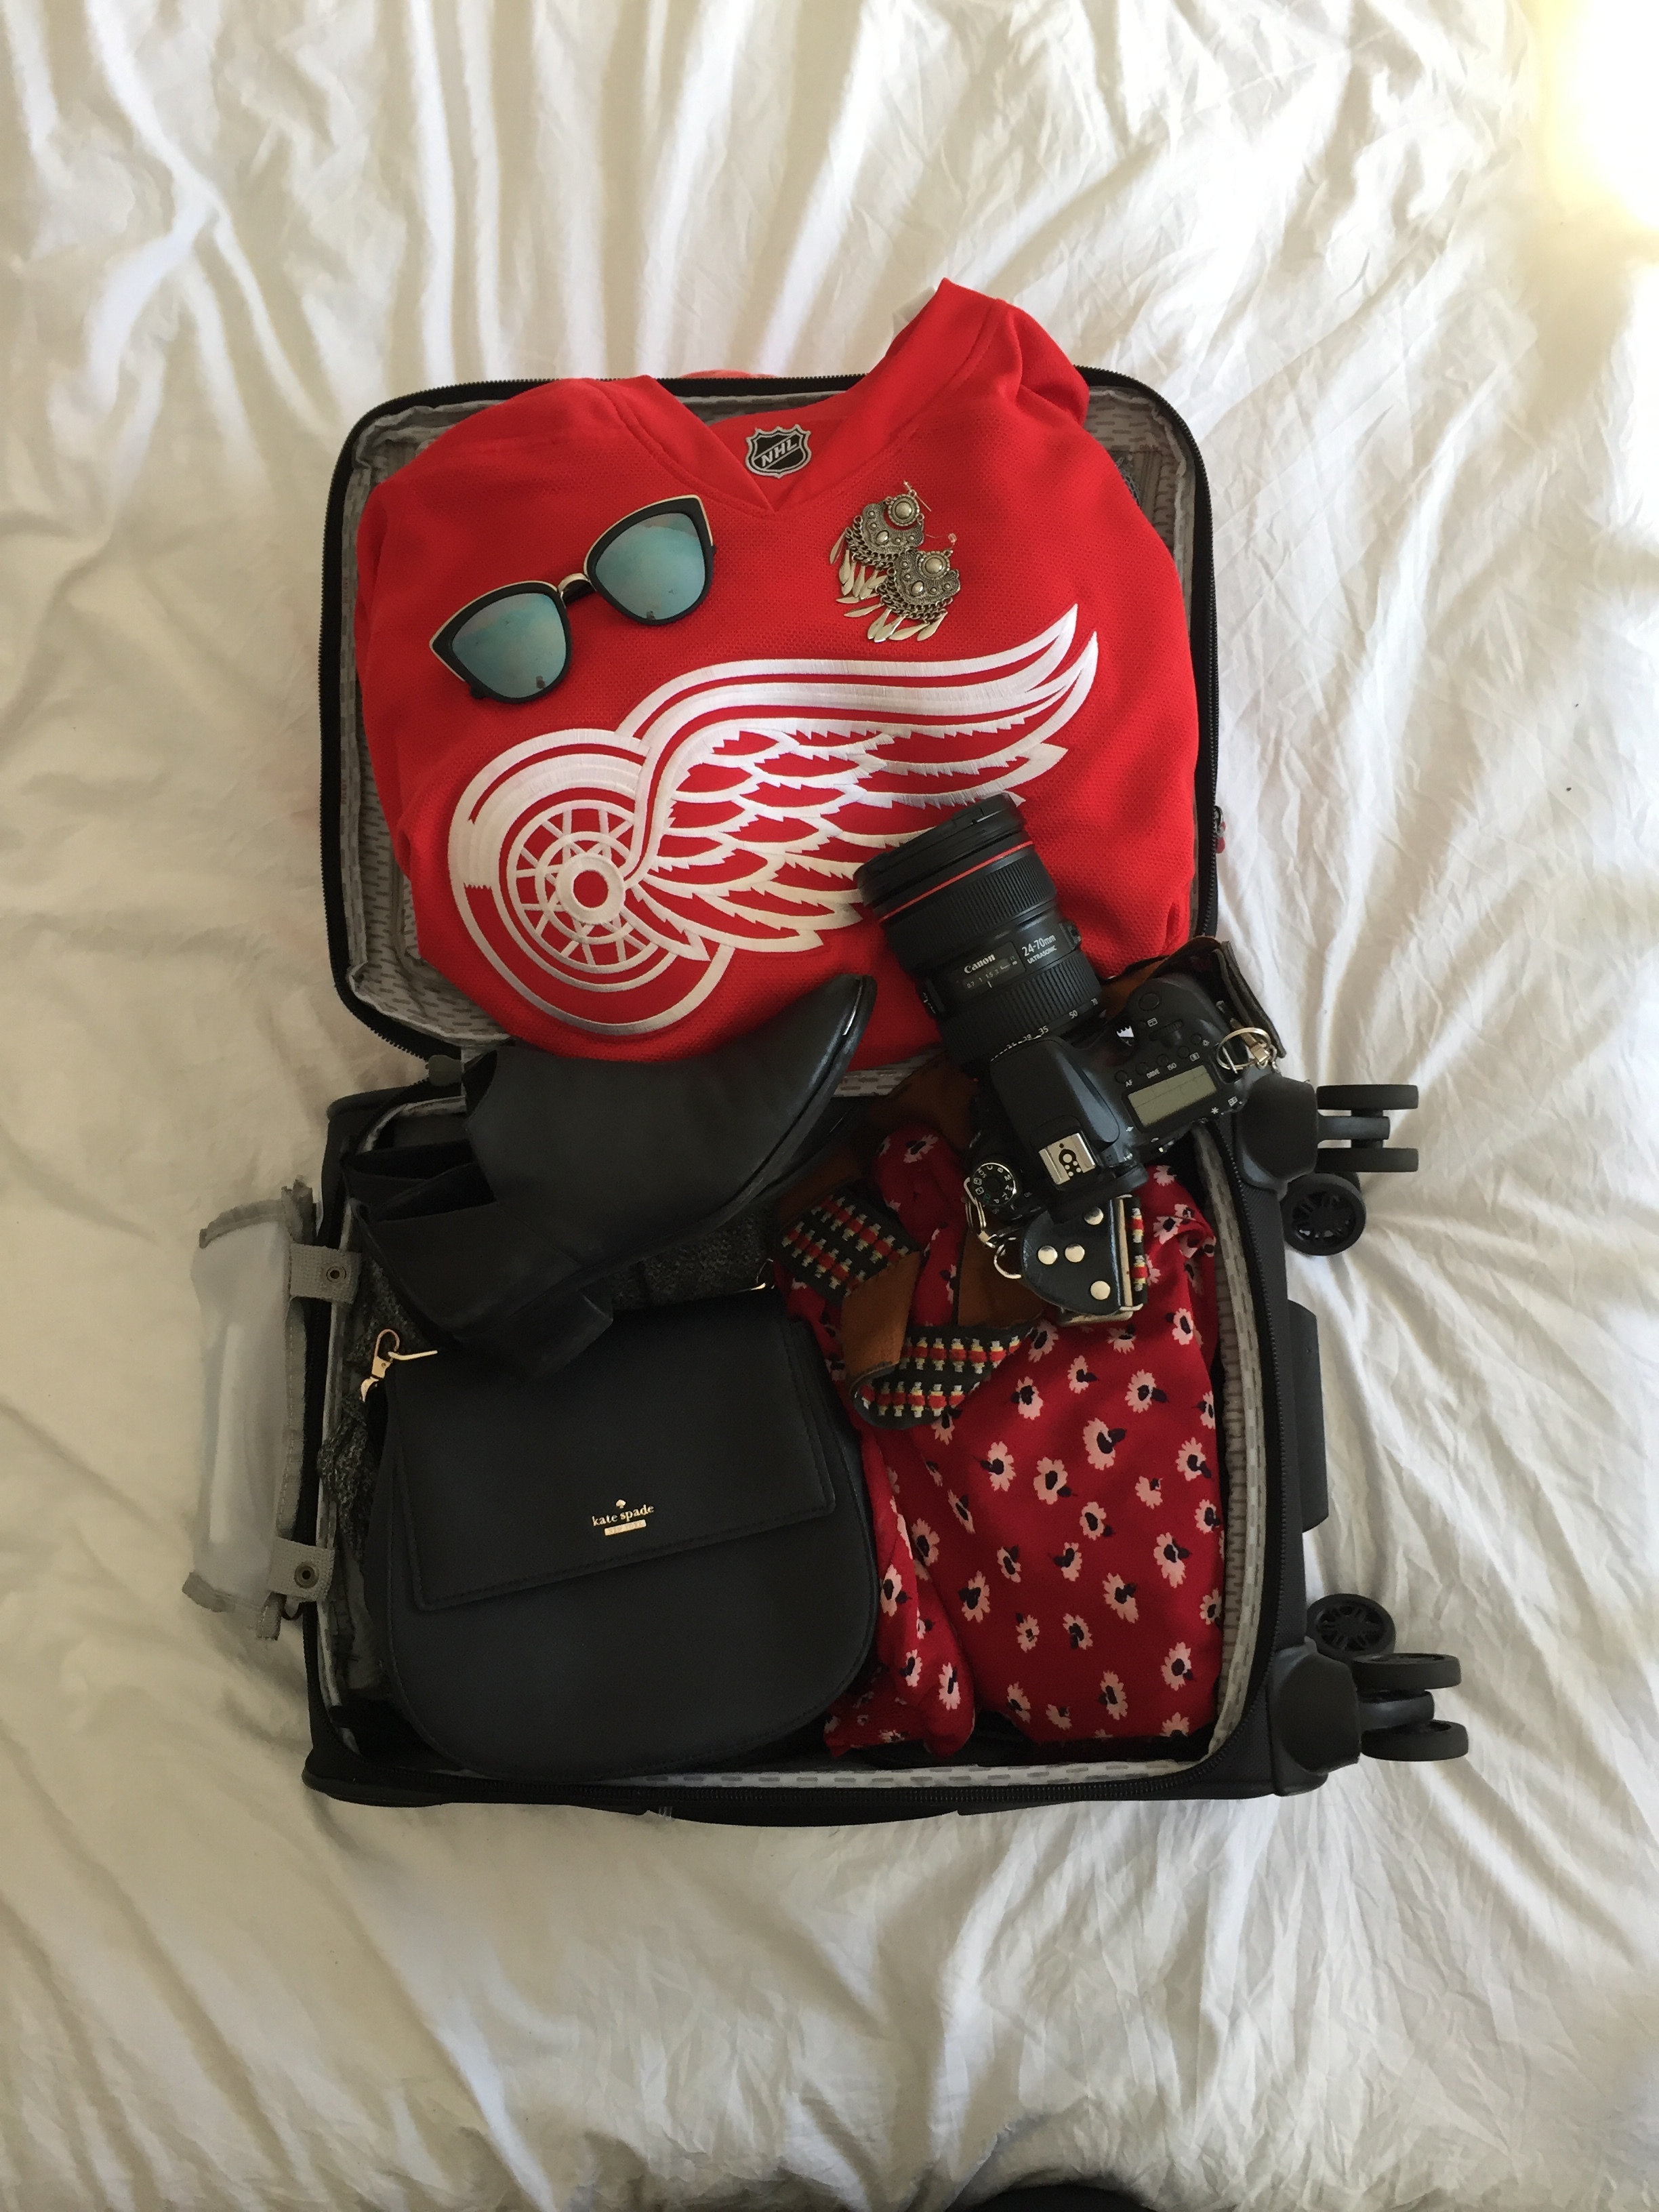
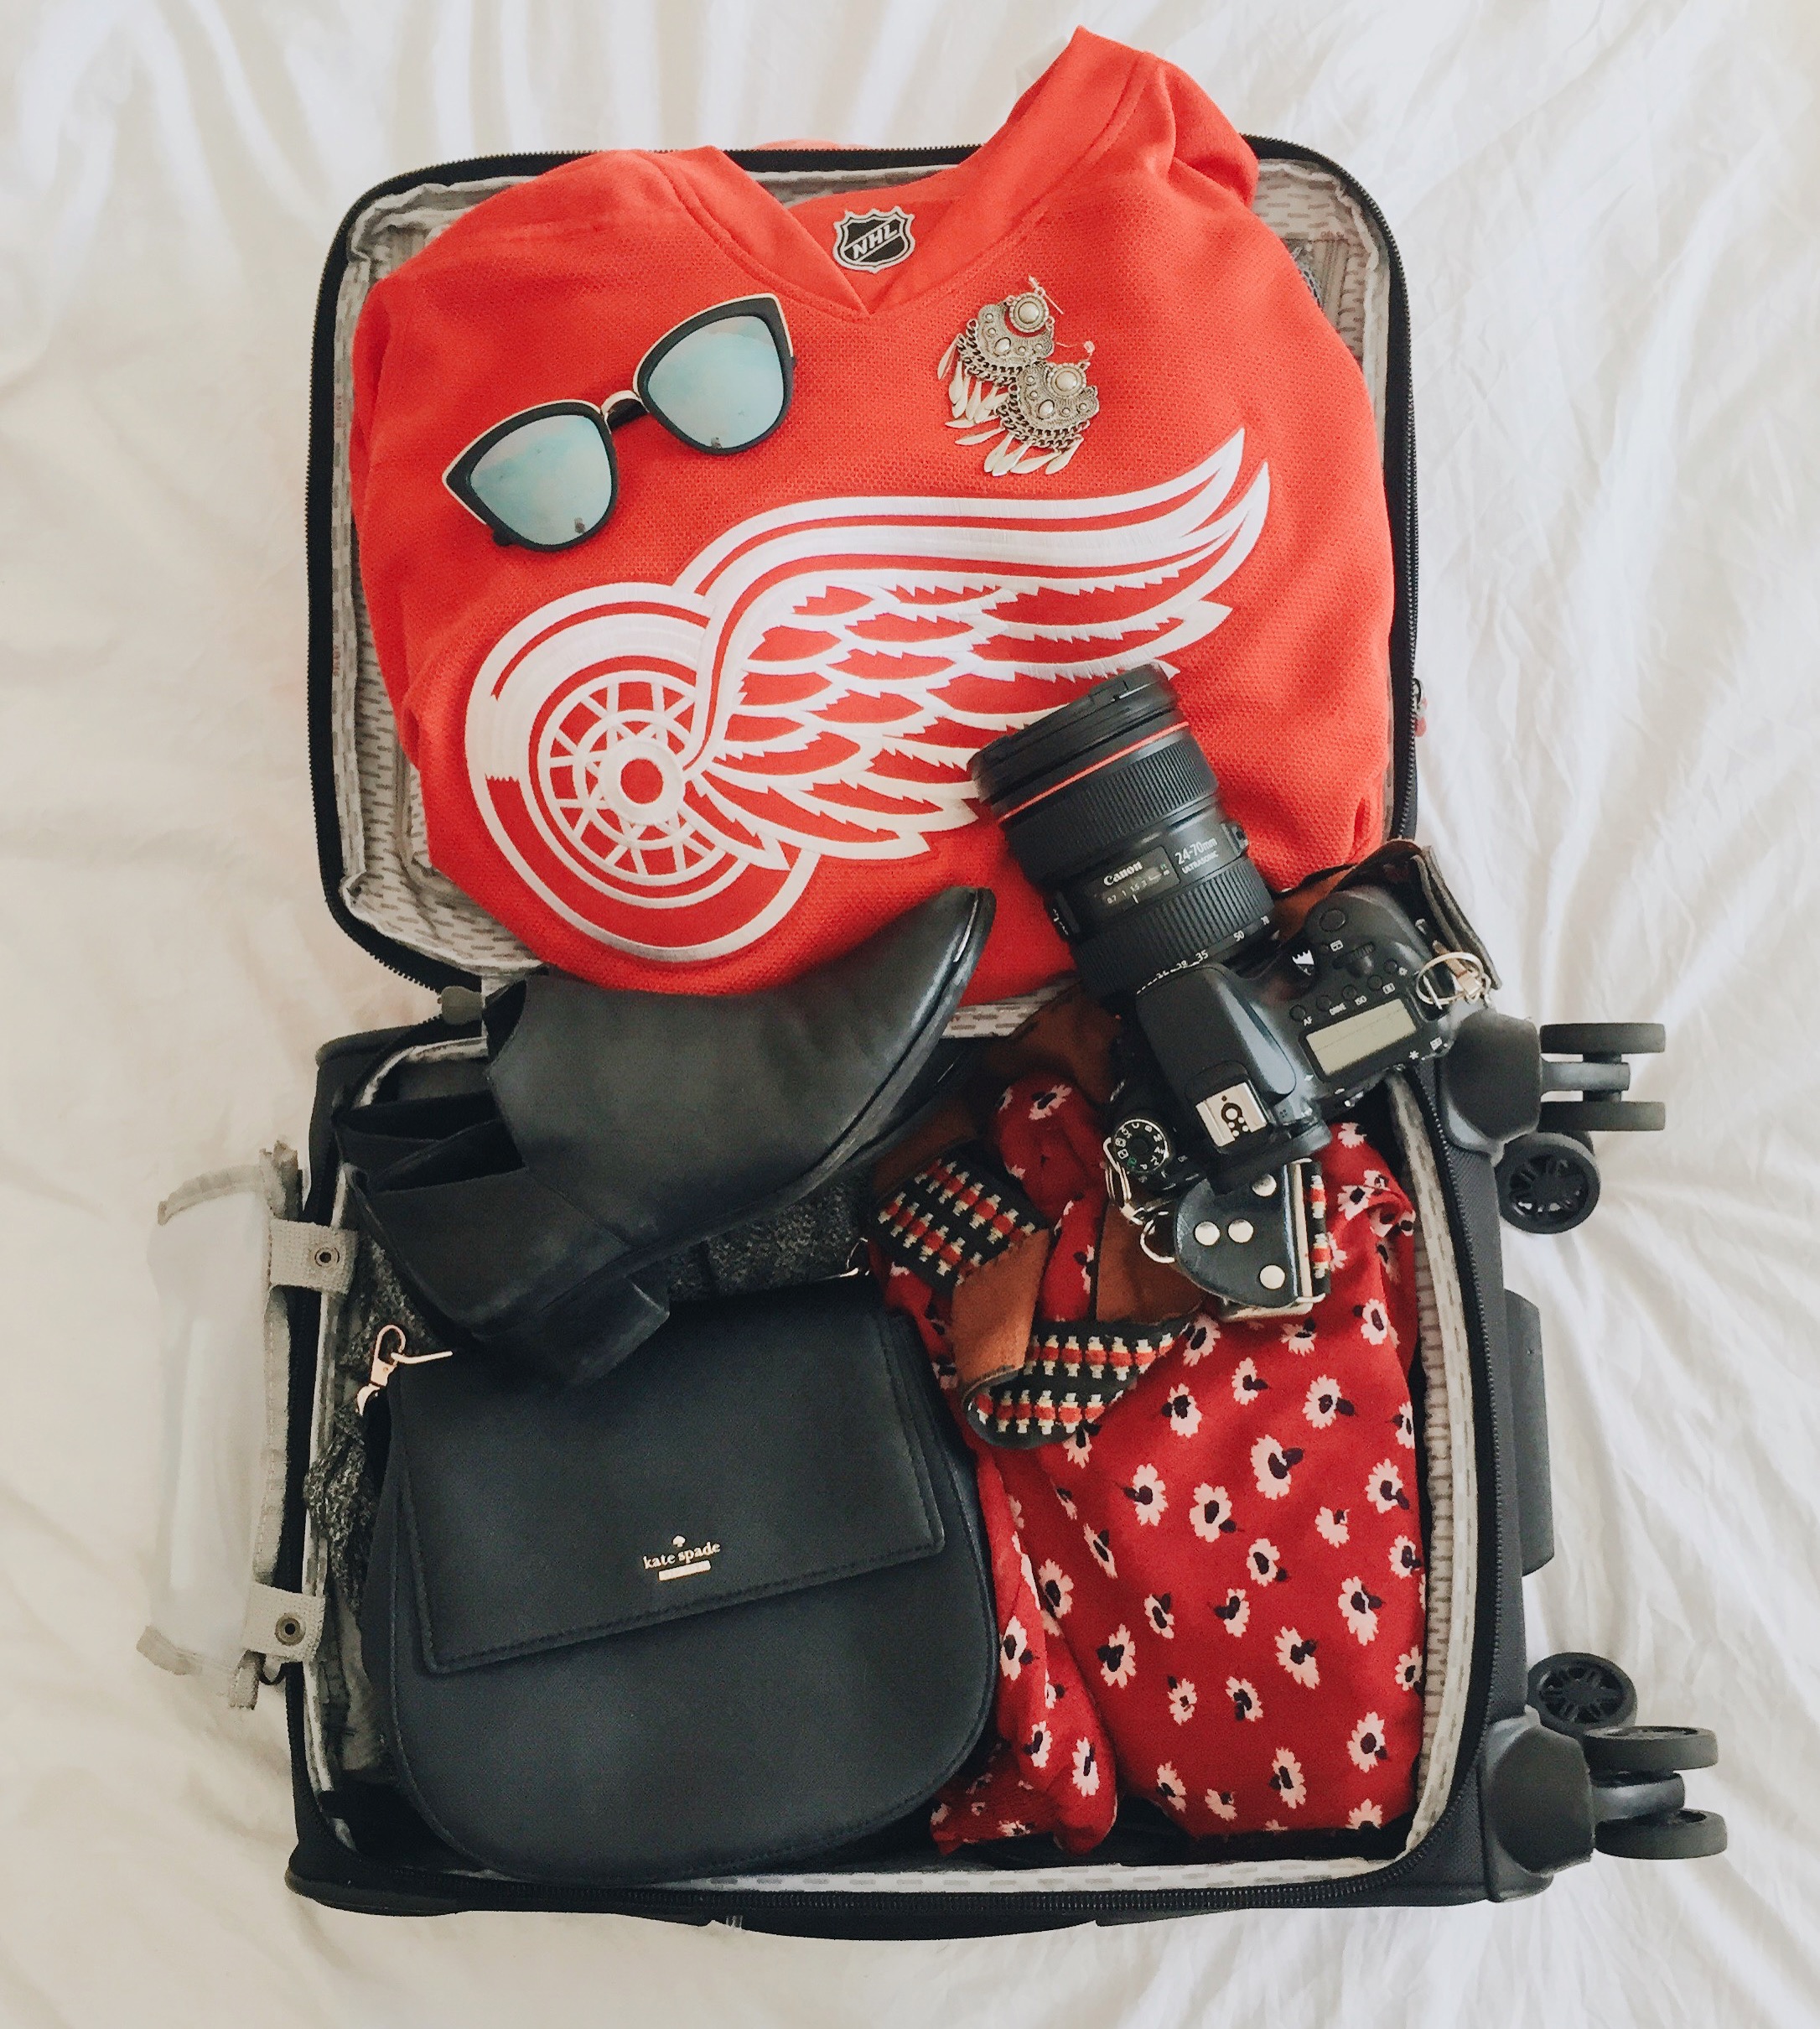
7. Make sure your whites are white
One of the biggest issues I have seen on Instagram is poor exposure. Even if you are not a professional photographer, exposing the photo properly can be easy. When you are editing your photos, just try to make sure that the whites are truly white. If they are dark or dull, brighten them up a little bit. If they are completely washed out, you will need to rein them back in.
In the first image of the sunflower, the overall feel is very dark. When you lighten it up so that the house is much closer to a true white, the image is much brighter and looks a lot better.
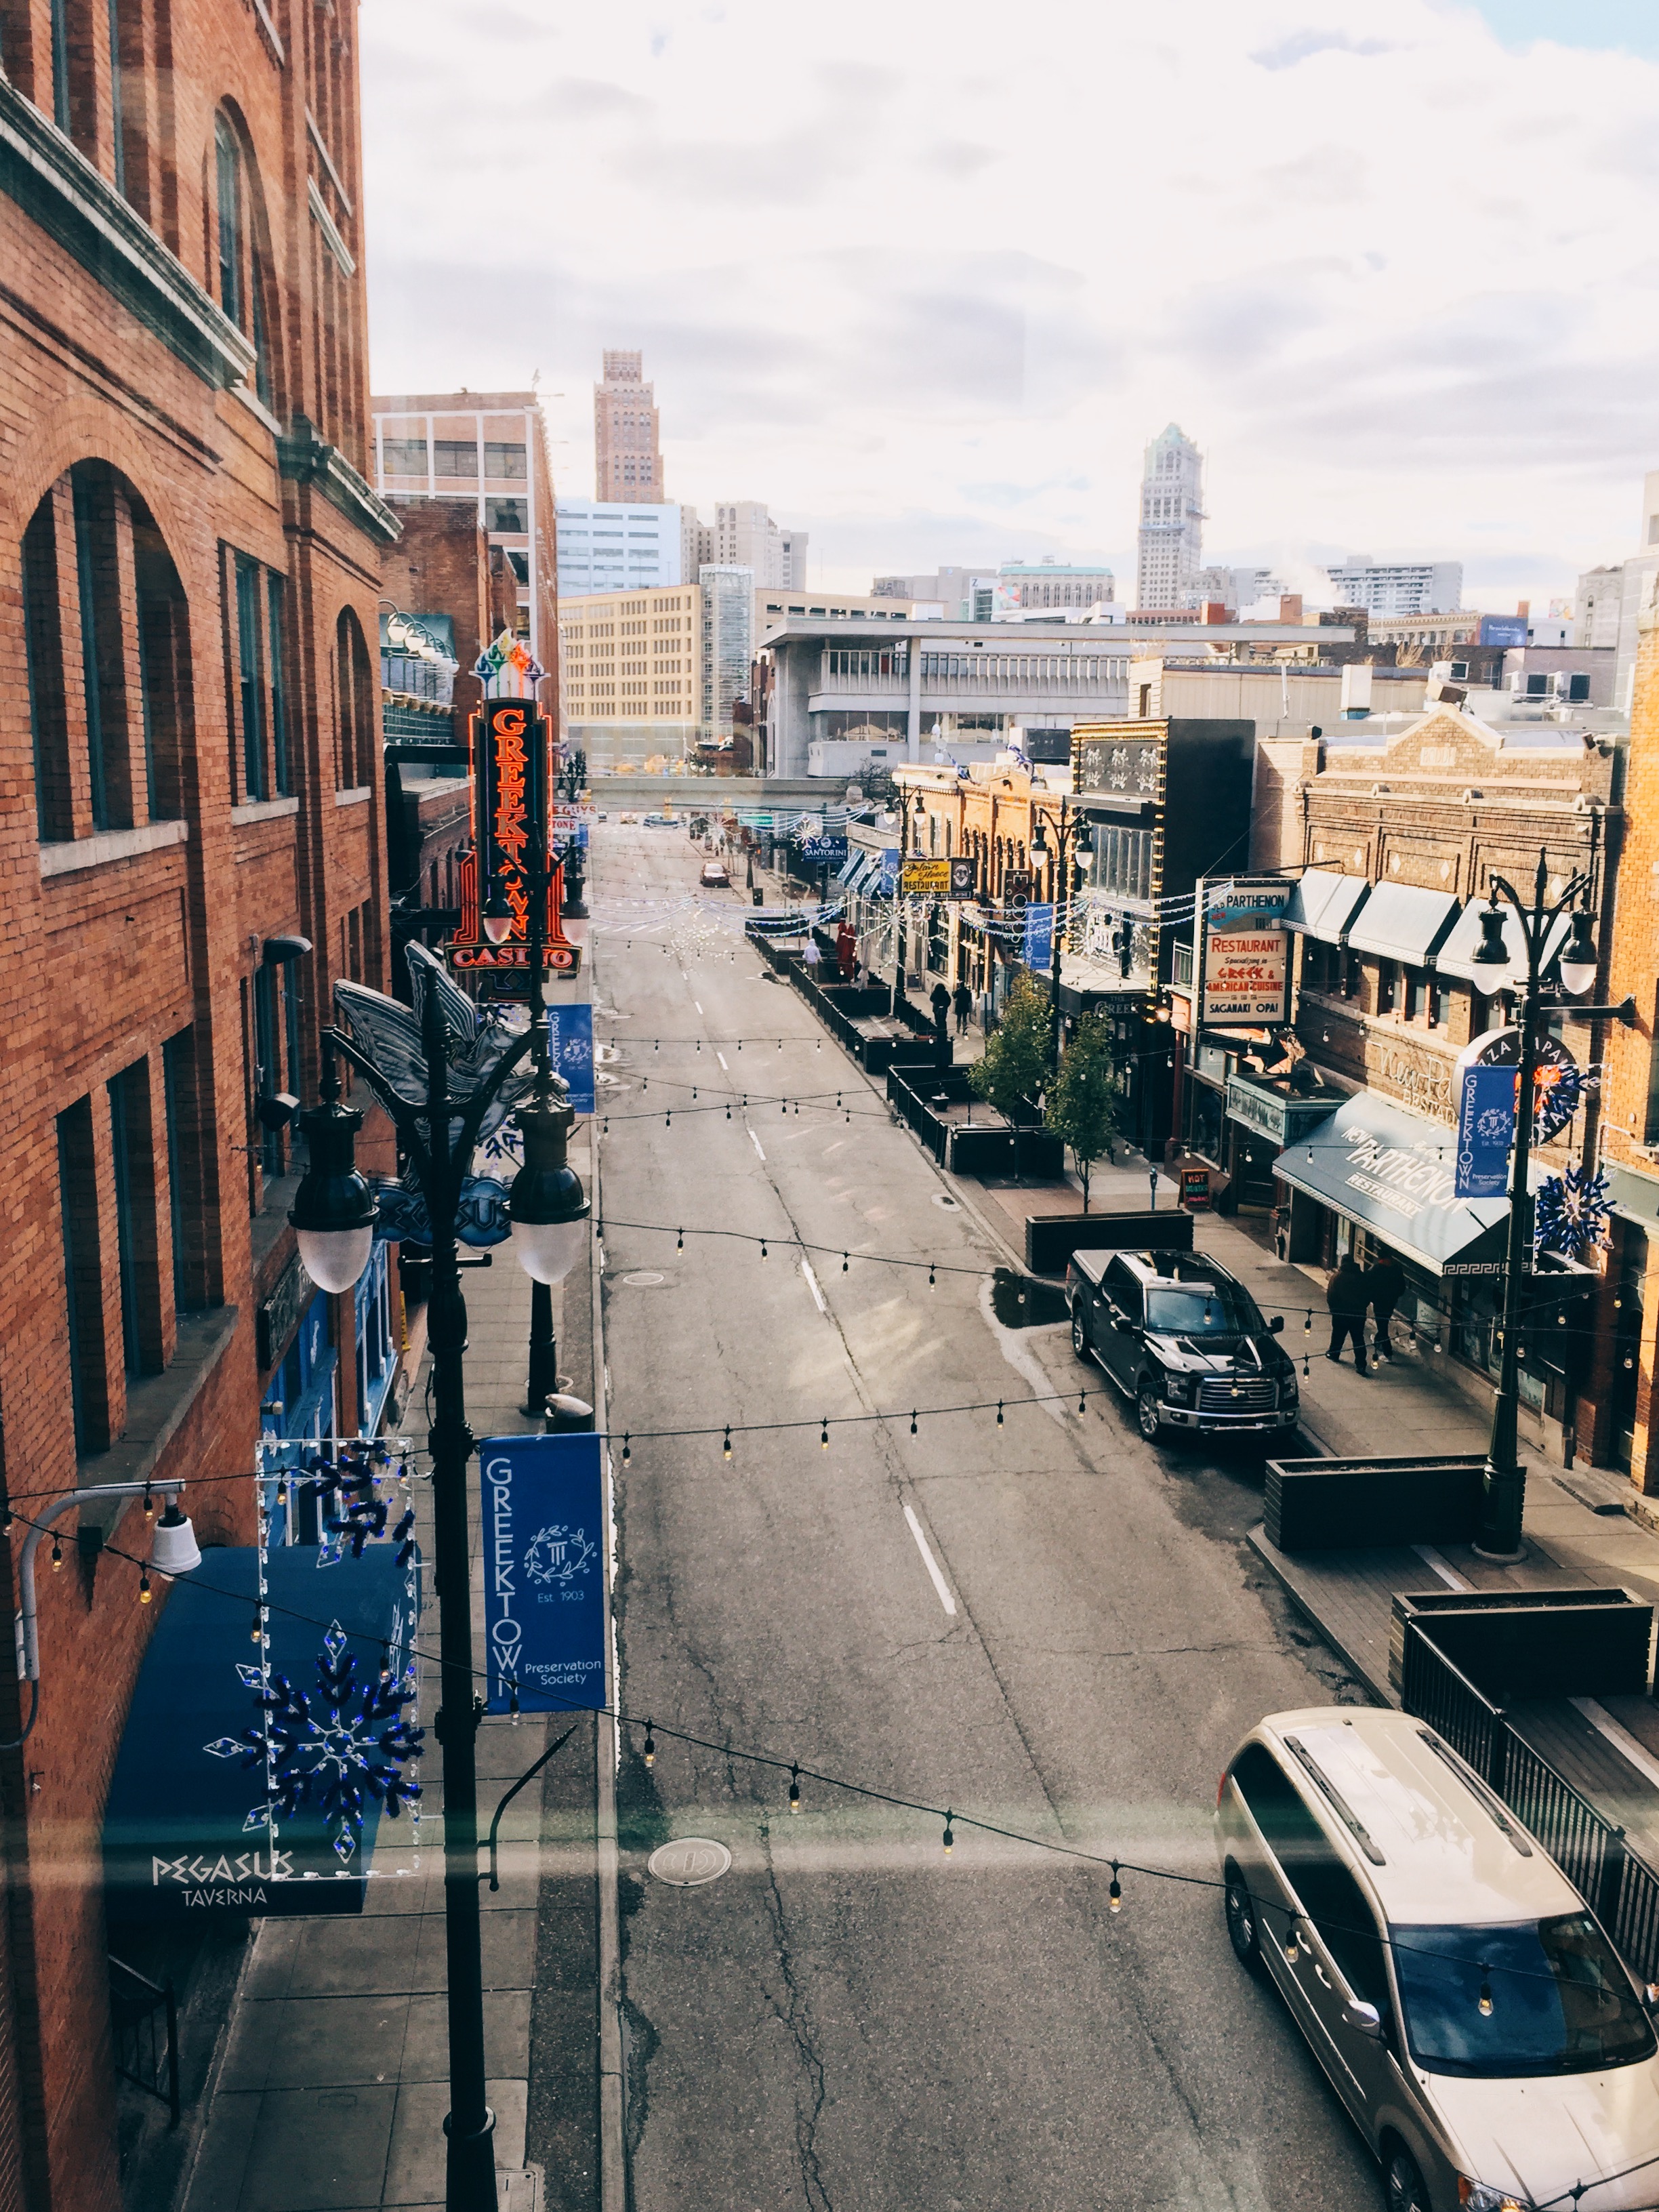
In the second set of images, the comforter that my suitcase is on is supposed to be white. You can also tell this is under exposed because it is hard to see what is in my suitcase. The blacks tend to run together and it's hard to distinguish my purse from my boots. Once we lighten this up and add some contract back for the darker closers, we can see the boots and purse distinctly.
In the last pictures the sun was setting. The original picture is a little too heavy for me so I lightened up the building to be closer to a true white color. It still looks like the sun just set because you can see the ferris wheel lit up, but is a brighter image overall.


These are just a few of the most basic ways to improve your feed. You don't need to be a professional photographer or blogger to make your Instagram stand out. Be mindful of these 7 tips and you will be able to create a more cohesive and balanced feed.
All photos are taken by me, Rachel Dwyer.
Rachel Dwyer Photography - Website - Instagram
You can check out the apps I mentioned here:
Instagram - Download Here
VSCO - Download Here
Afterlight - Download Here
UNUM - Download Here